|
|
Download, Install and Execute Anaconda |
| Tags | install☁jupyter☁notebook☁anaconda☁download |
In every journey we always need to prepare our toolbox with the needed resources !
With biosignalsnotebooks happens the same, being Jupyter Notebook environment the most relevant application (that supports biosignalsnotebooks ) to take the maximum advantage during your learning process.
In the following sequence of instruction it will be presented the operations that should be completed in order to have Jupyter Notebook ready to use and to open our ipynb files on local server.
|
☌
The current
Jupyter Notebook
is focused on a complete Python toolbox called
Anaconda
|
1 - Access the Anaconda official page at https://www.anaconda.com/distribution/
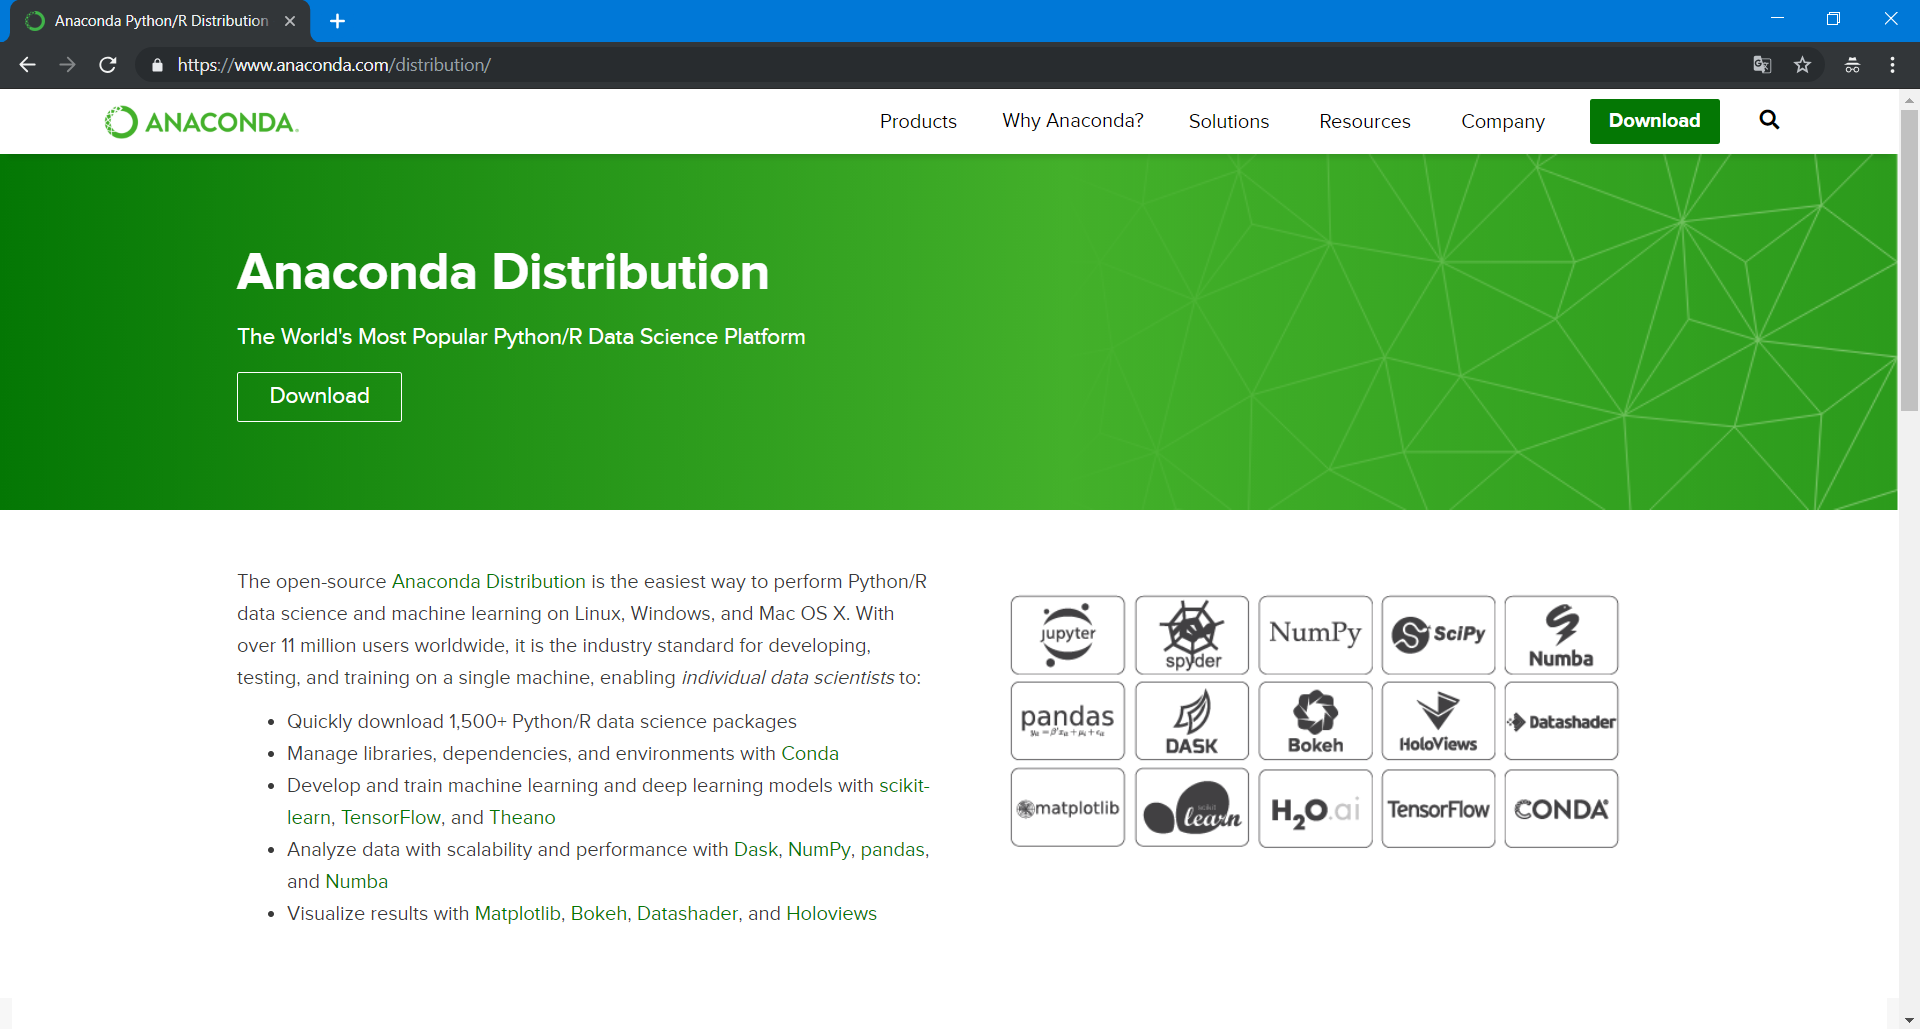
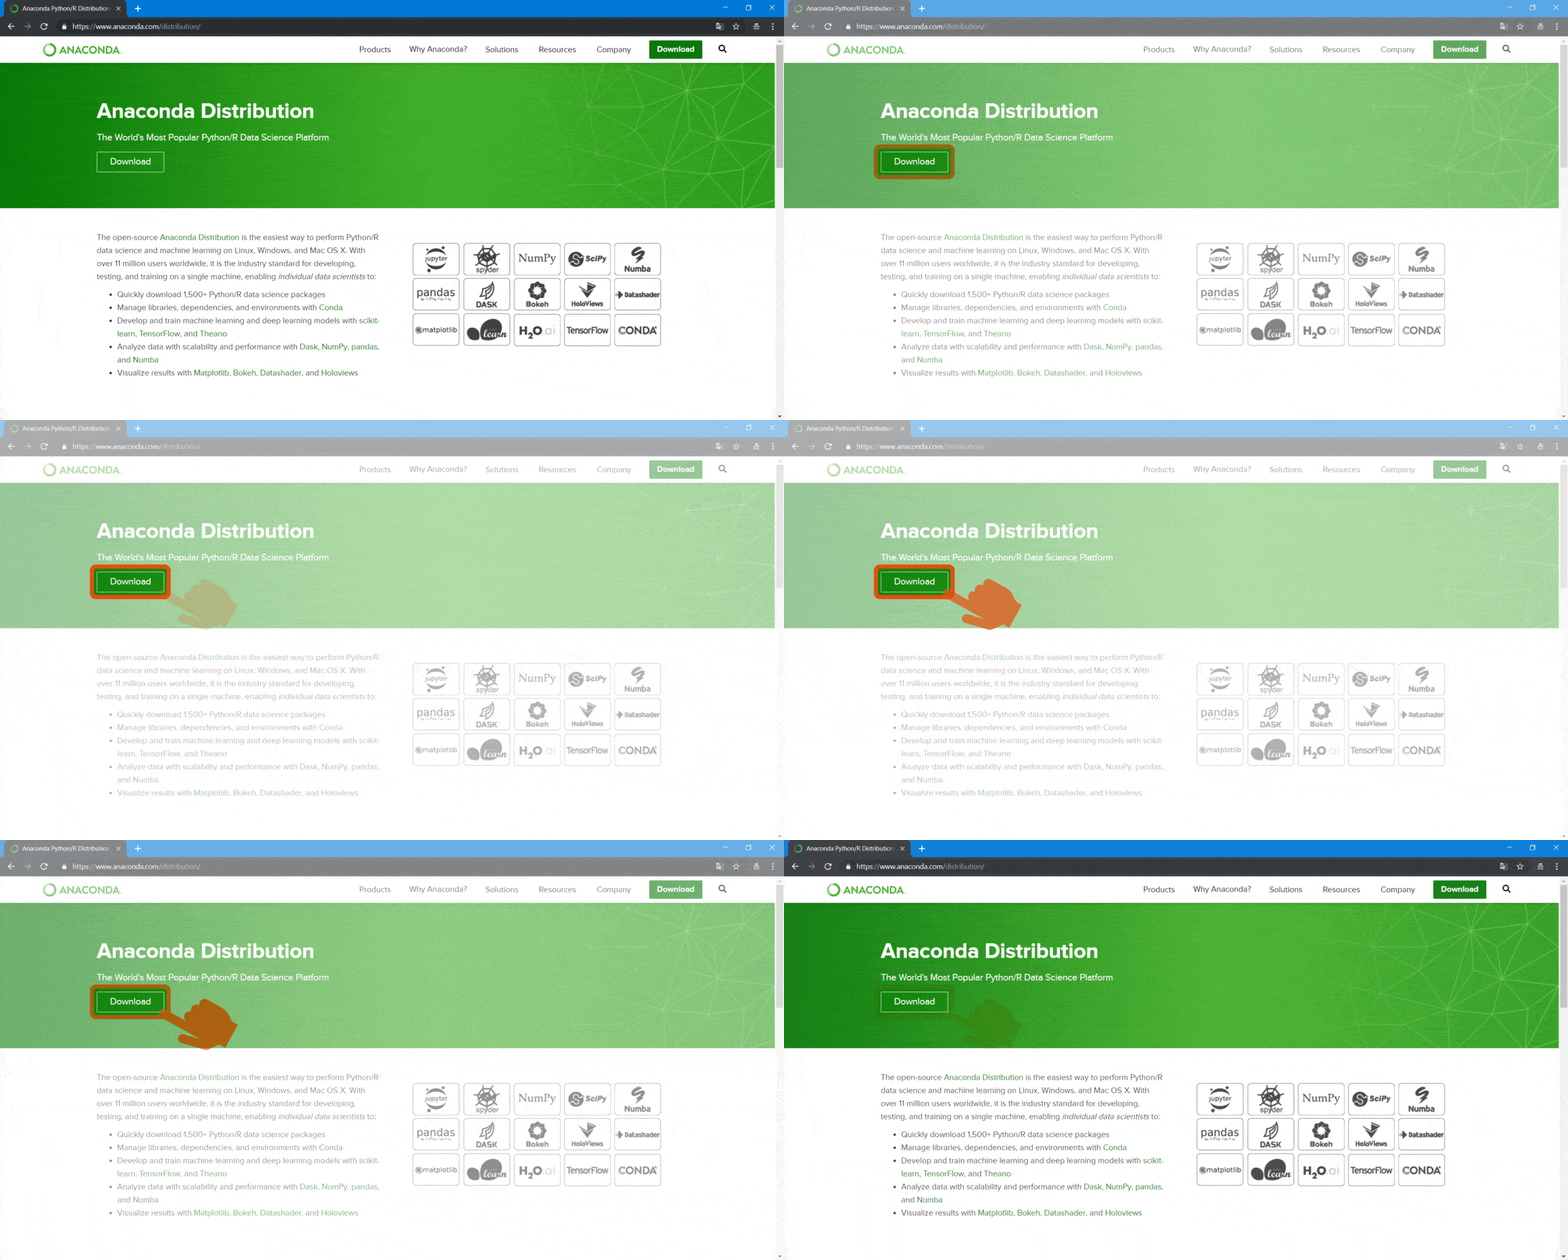
2 - Click on "Download" button, giving a first but strong step into our final objective
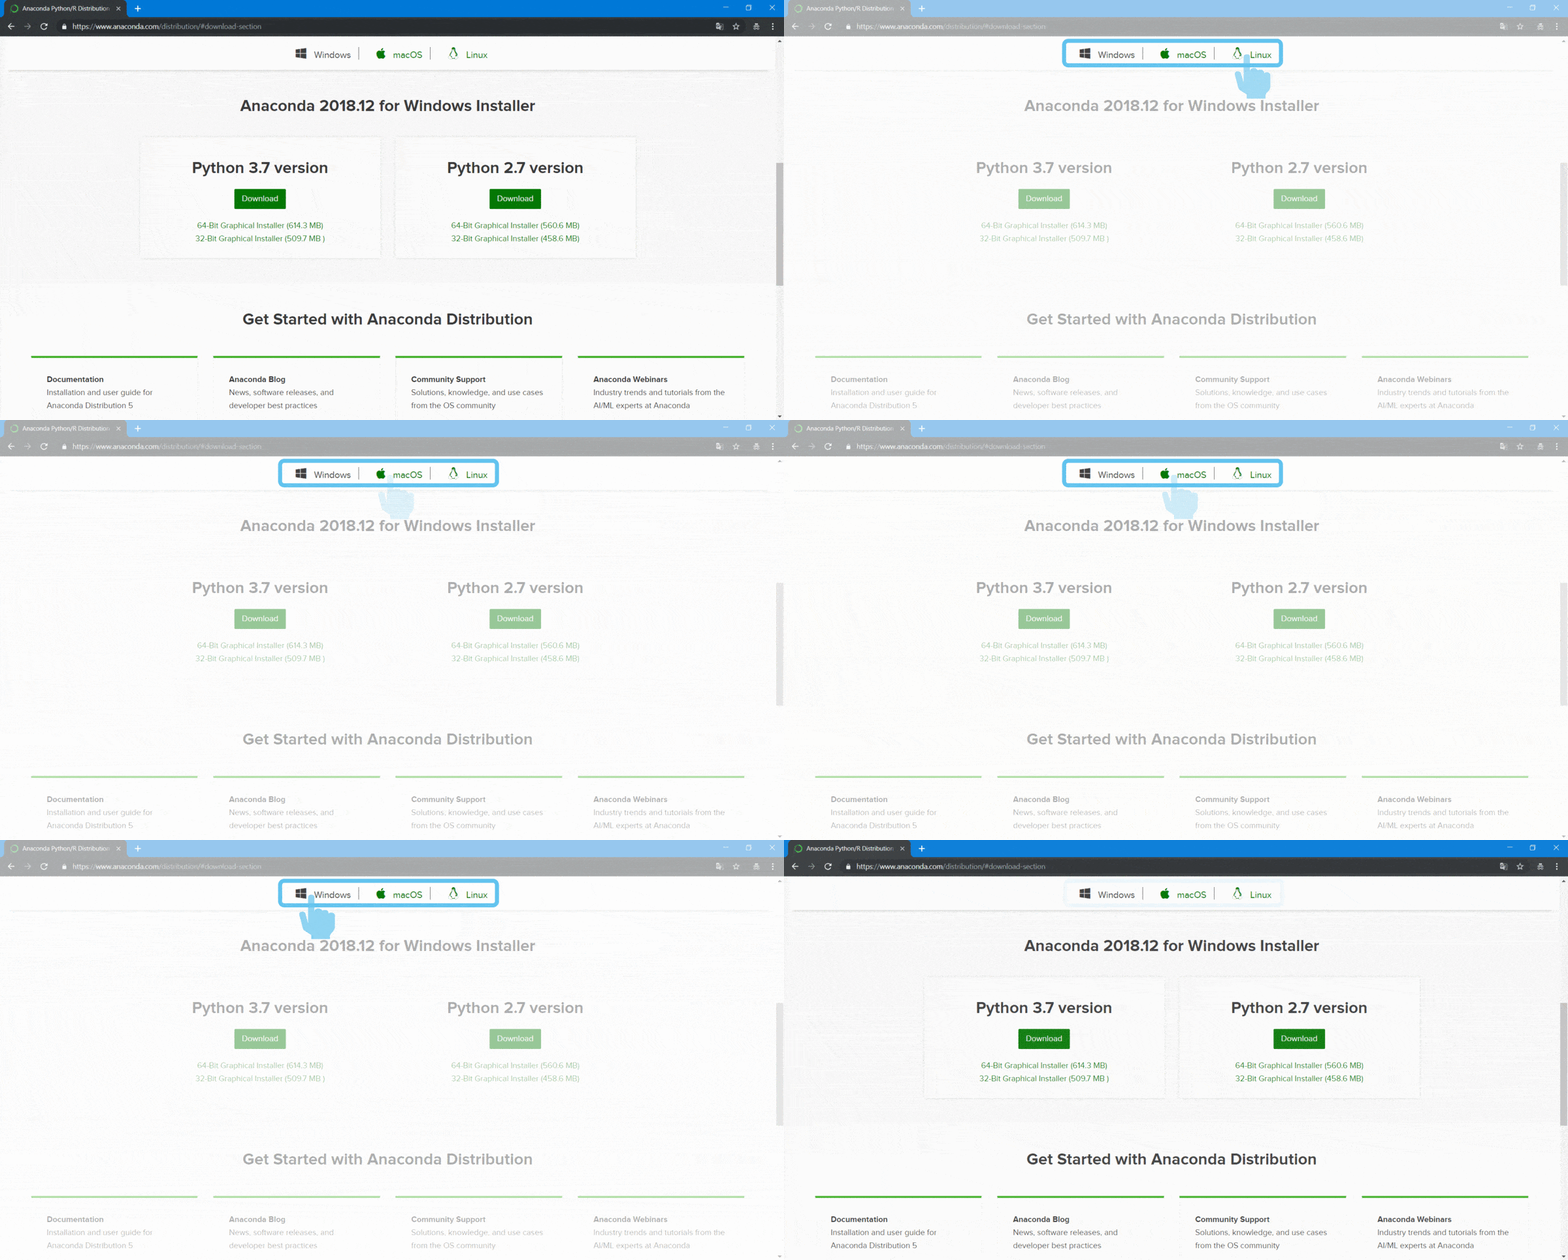
3 - Specify the operating system of your local machine
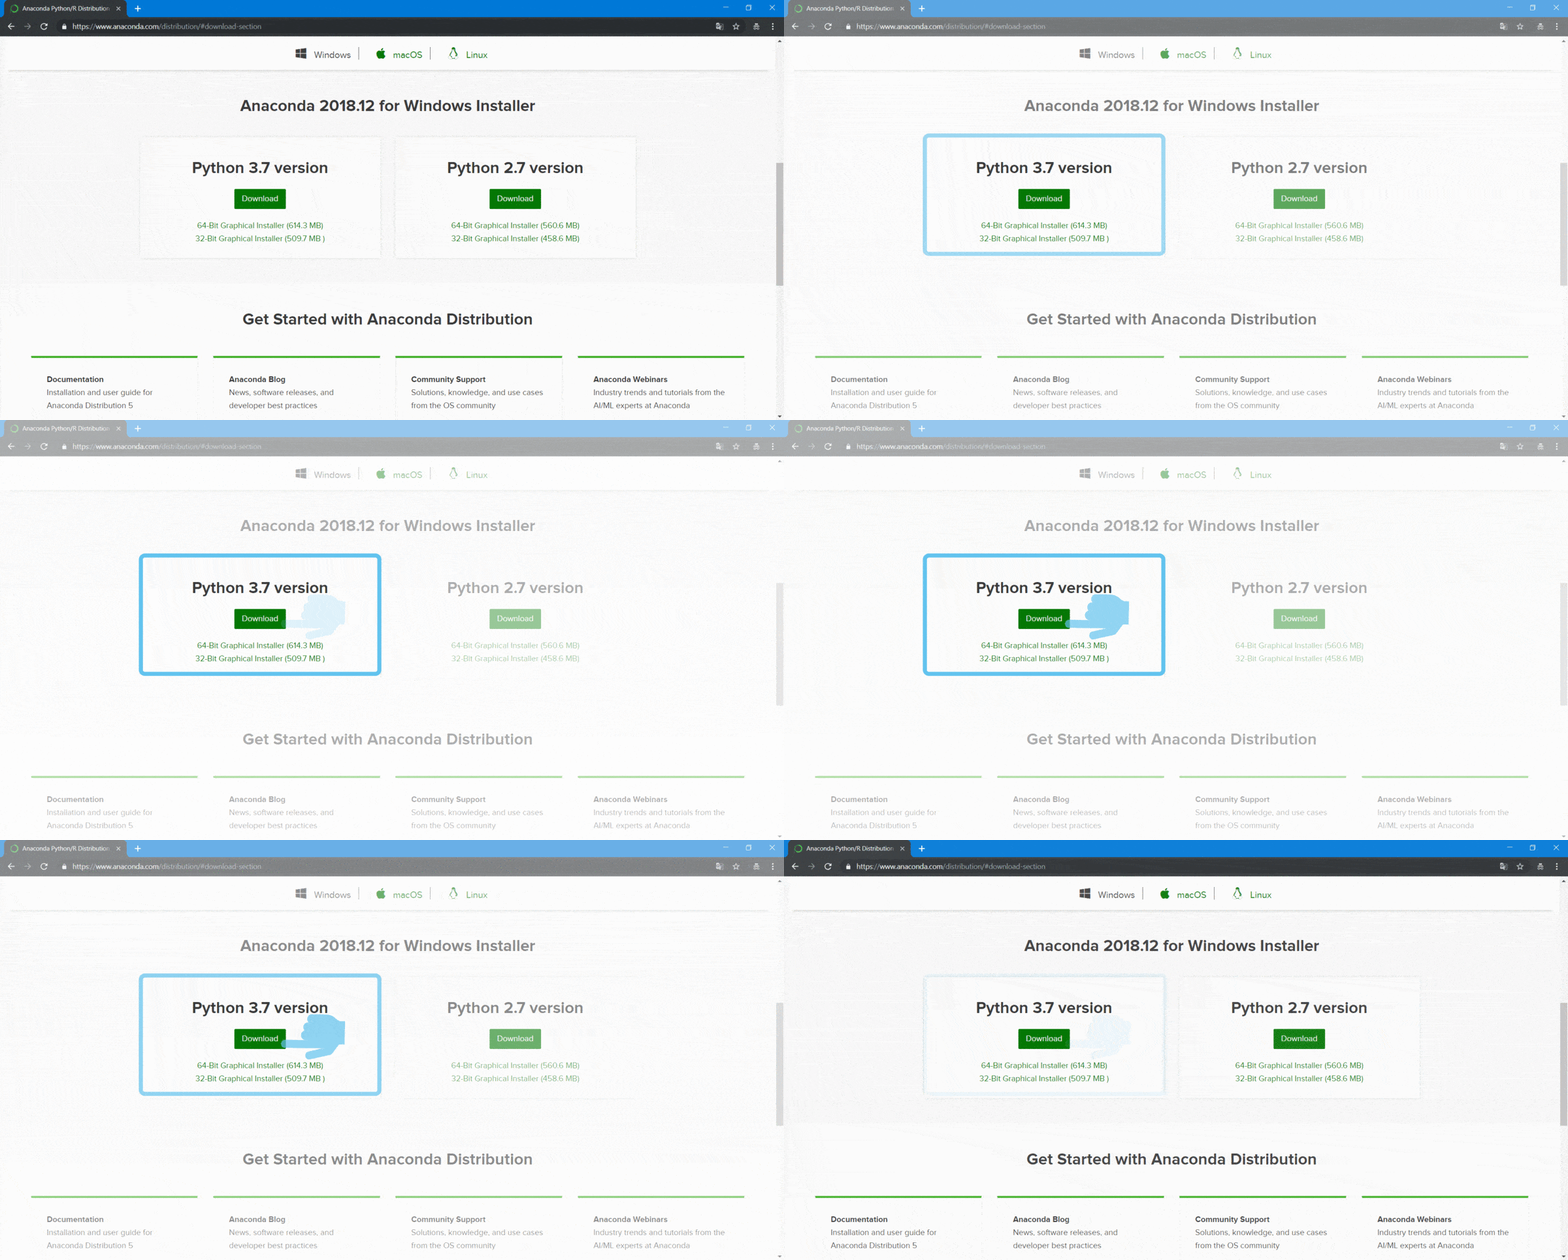
4 - Select the version of Python compiler to be included on Anaconda
It is strongly advisable that you chose version 3.- to ensure that all functionalities of packages like biosignalsnotebooks are fully operational.
5 - After defining the directory where the downloaded file will be stored, please, wait a few minutes for the end of transfer
⚠ The waiting time will depend on the quality of the Internet connection !
6 - When download is finished navigate through your directory tree until reaching the folder where the downloaded file is located
In our case the destination folder was
7 - Execute Anaconda installer file with a double-click
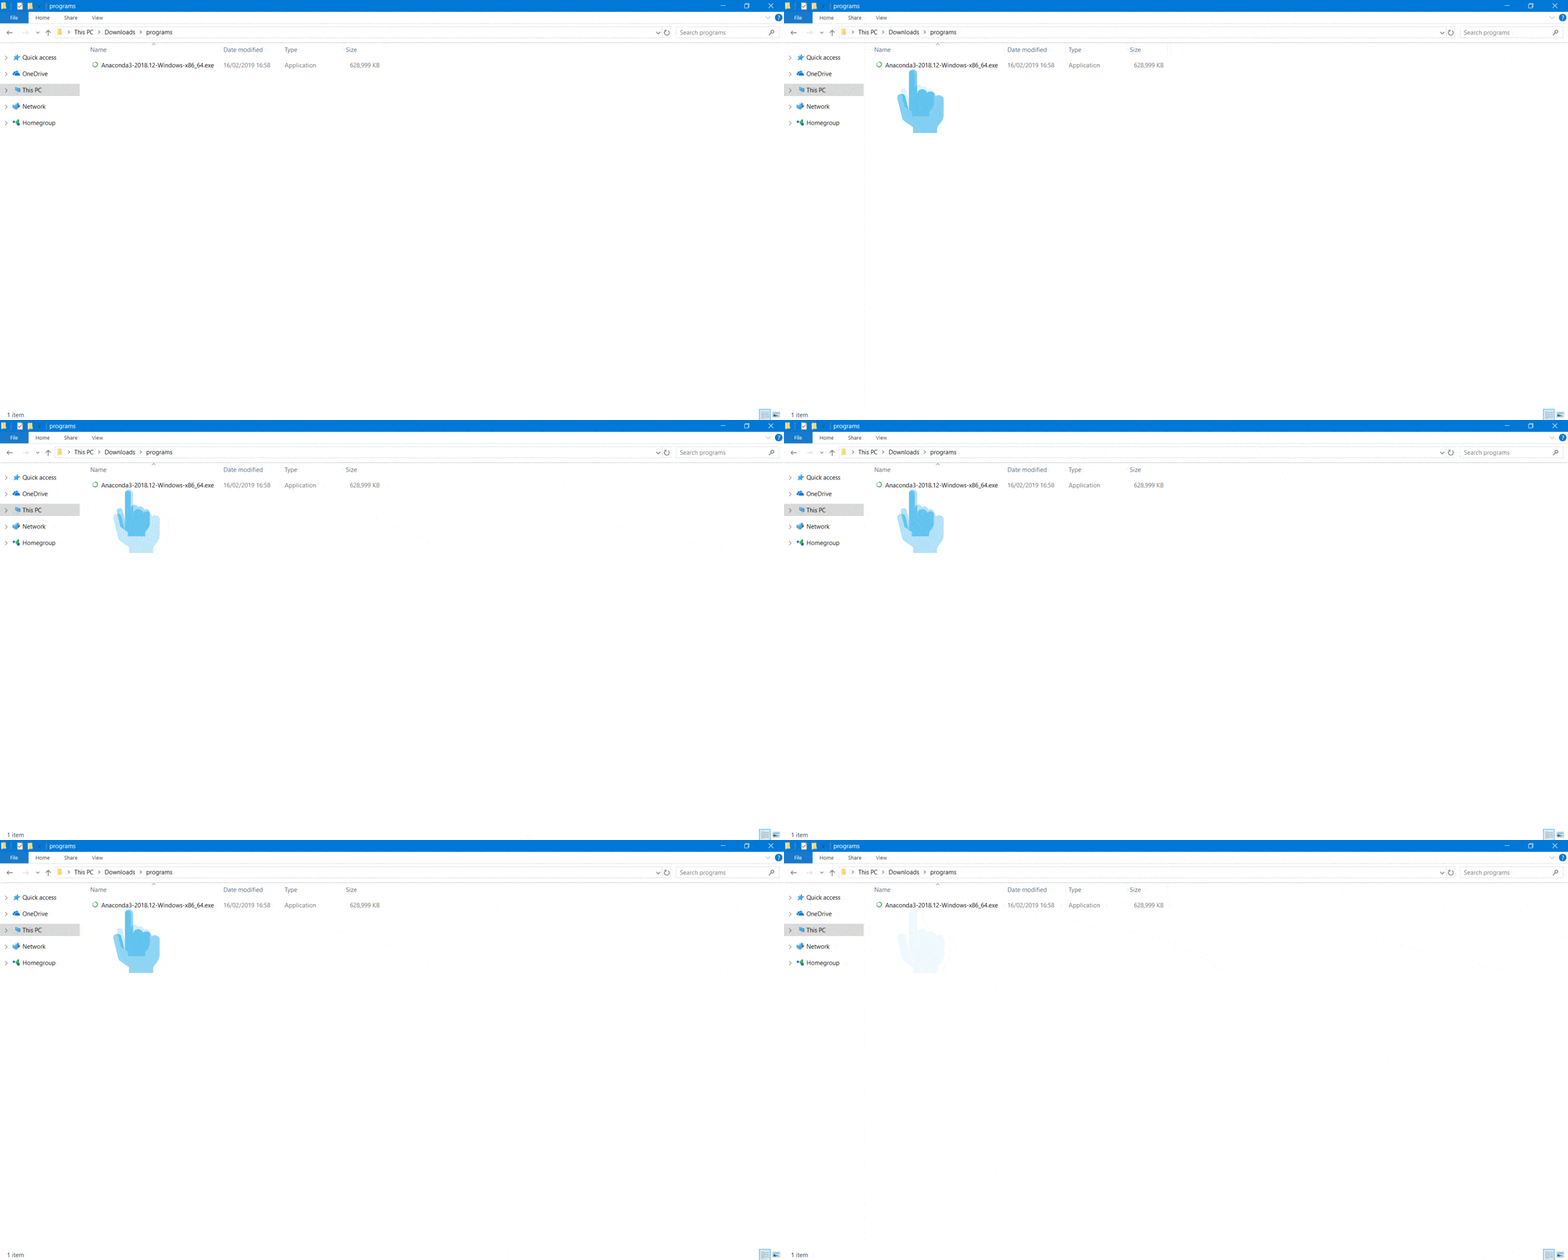
8 - Follow the sequential instructions presented on the Anaconda installer

9 - Jupyter Notebook environment is included on the previous installation. For starting your first Notebook execute Jupyter Notebook
Launch from "Anaconda Navigator" or through a command window, like described on the following steps.
9.1 - For executing Jupyter Notebook environment you should open a console (in your operating system).
If you are a Microsoft Windows native, just type click on Windows logo (bottom-left corner of the screen) and type "cmd". Then press "Enter".9.2 - Type "jupyter notebook" inside the opened console. A local Jupyter Notebook server will be launched.
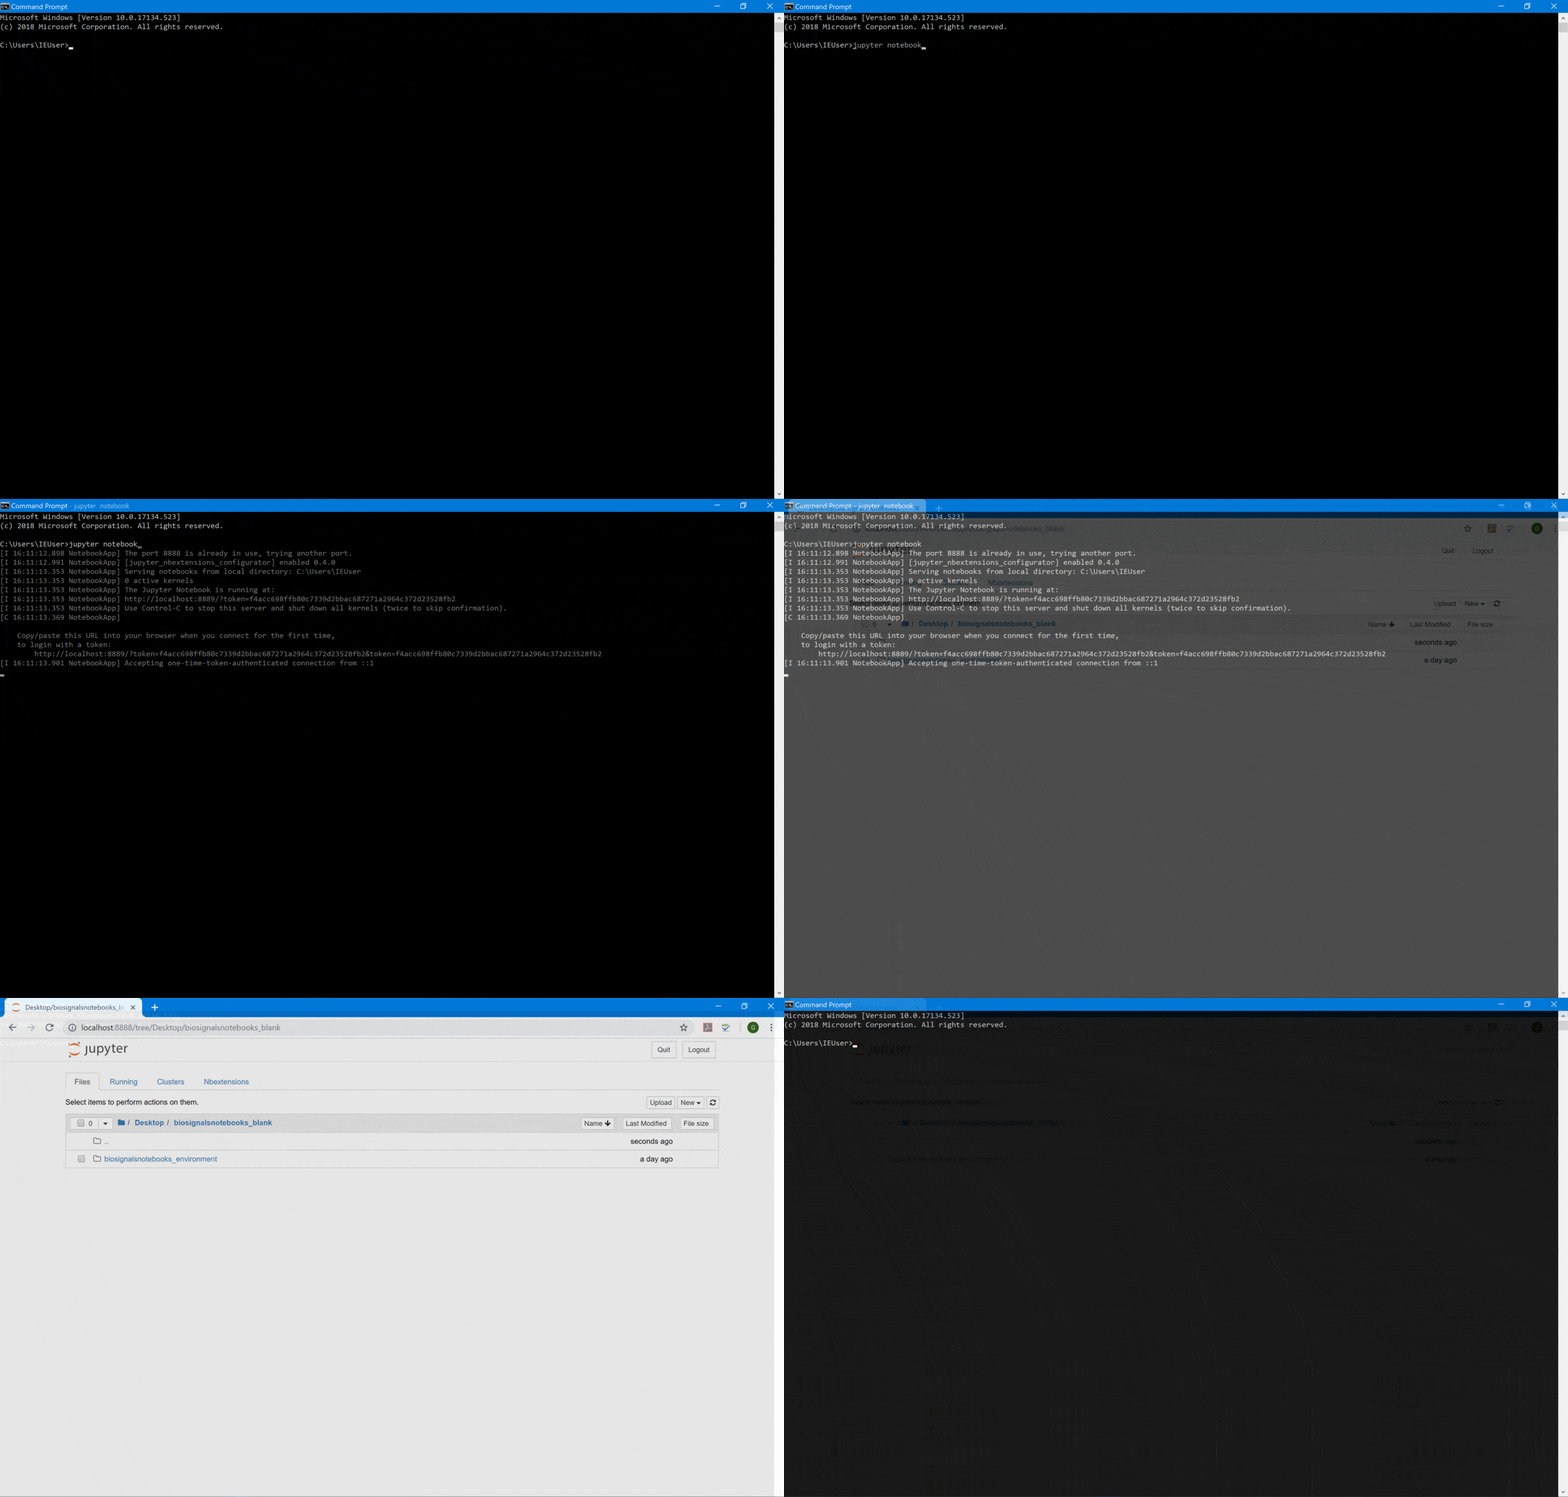
10 - Create a blank Notebook
10.1 - Now, you should navigate through your directories until reaching the folder where you want to create or open a Notebook (as demonstrated in the following video)
⚠
You should note that your folder hierarchy is unique, so, the steps followed in the next image, will depend on your folder organisation, being merely illustrative
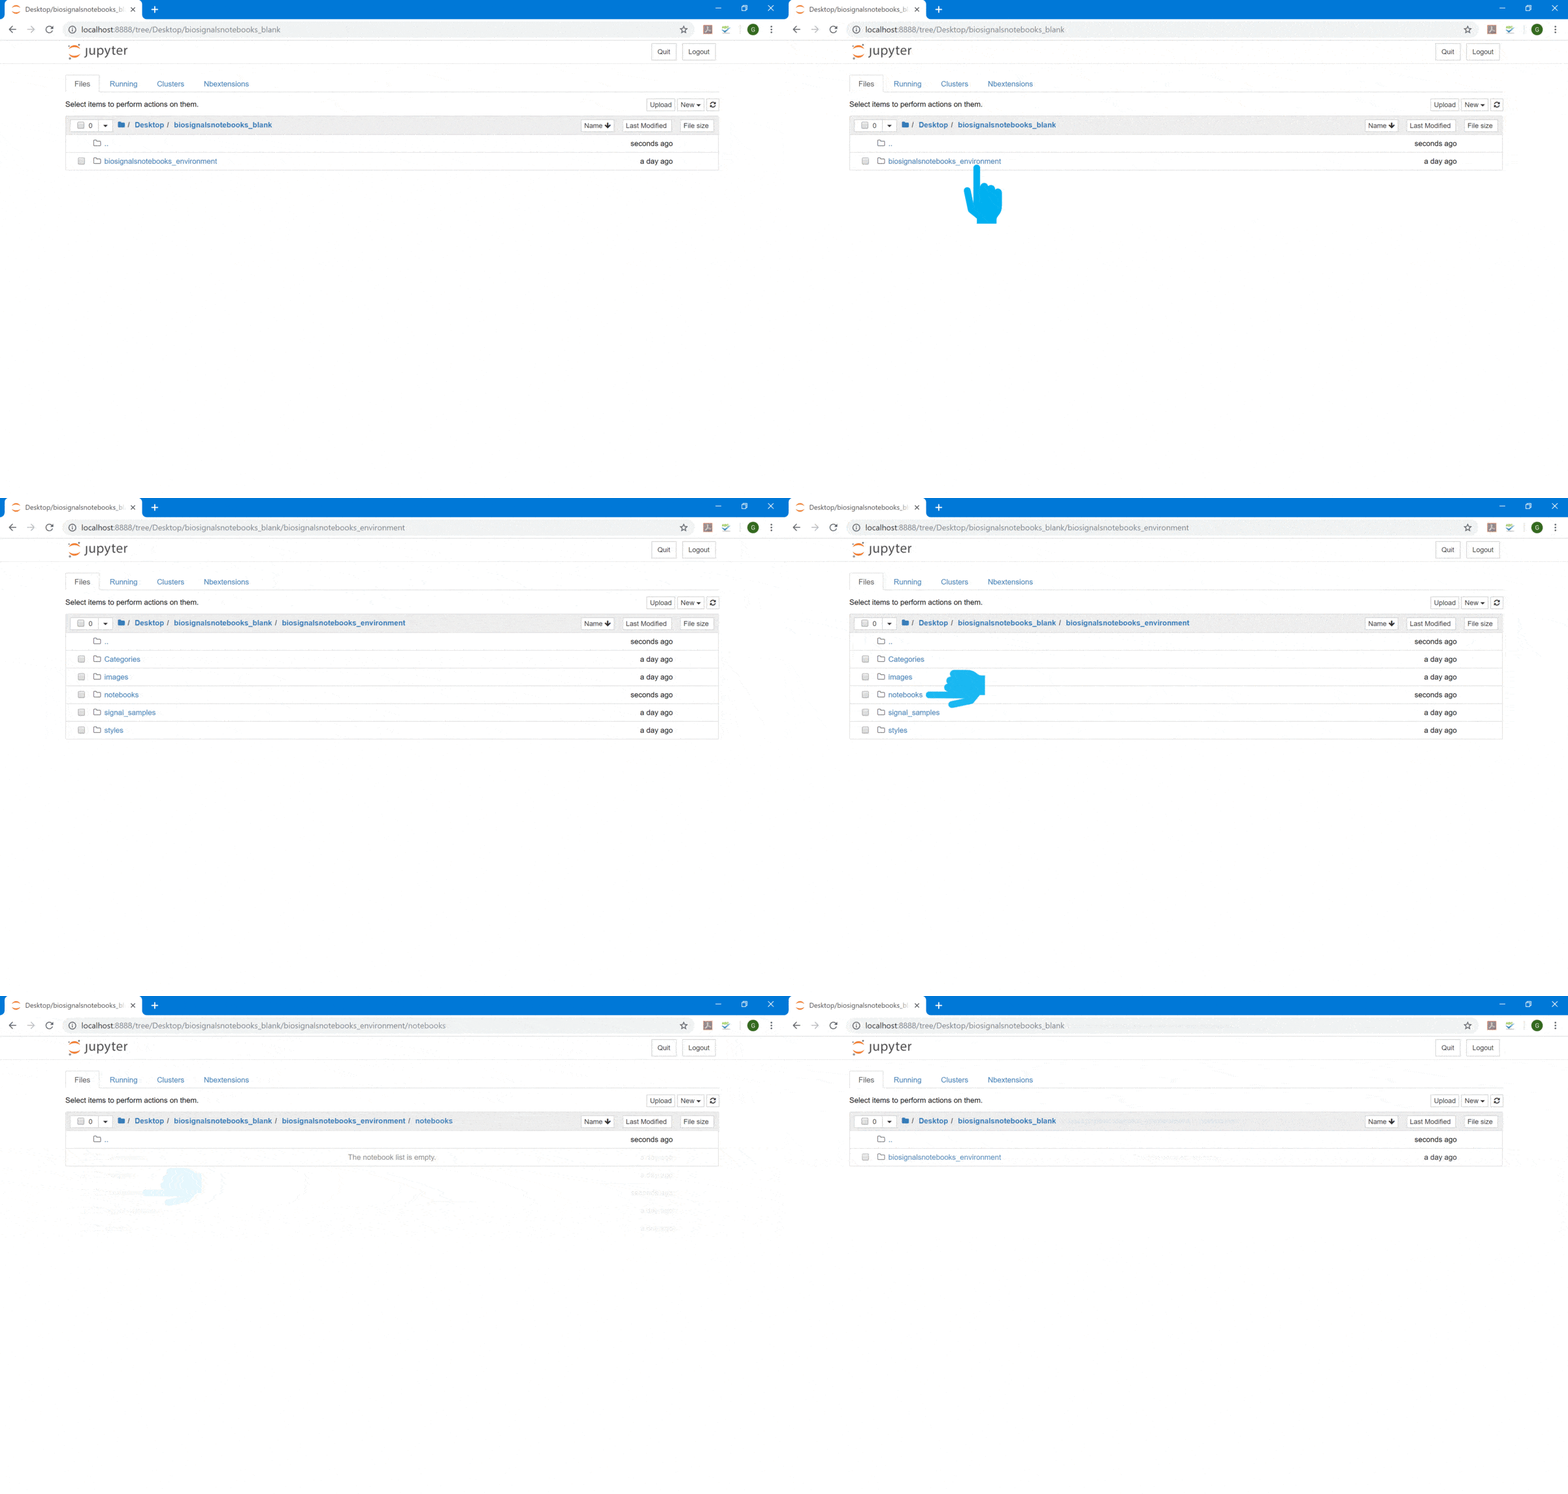
10.2 - For creating a new Notebook, "New" button (top-right zone of Jupyter Notebook interface) should be pressed and Python 3 option selected.
A blank Notebook will arise and now you just need to be creative and expand your thoughts to others persons!!!
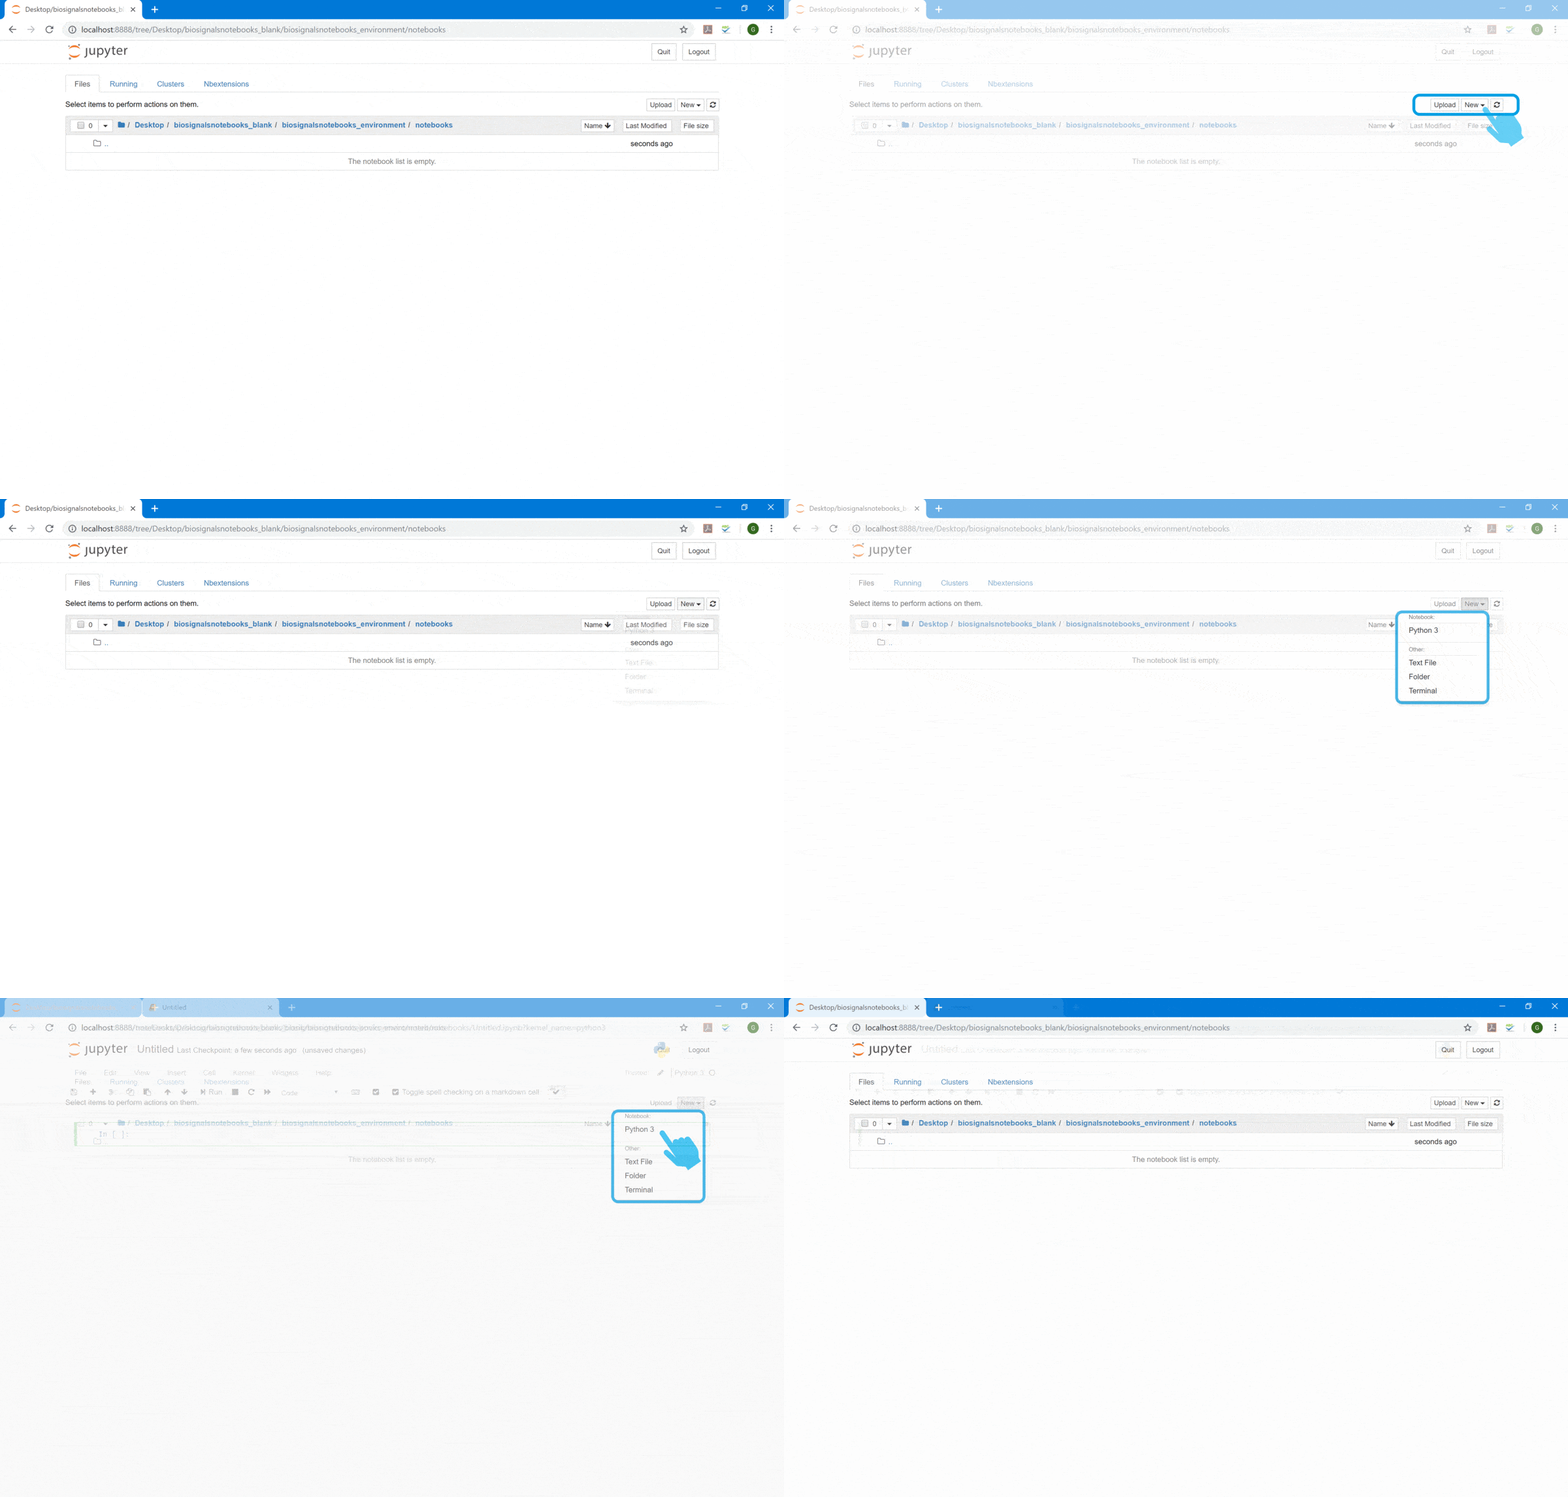
This can be the start of something great. Now you have all the software conditions to create and develop interactive tutorials, combining Python with HTML !
Anaconda
contains lots of additional functionalities, namely
Spyder
![]() , which is an intuitive Python editor for creating and testing your own scripts.
, which is an intuitive Python editor for creating and testing your own scripts.
We hope that you have enjoyed this guide.
biosignalsnotebooks
is an environment in continuous expansion, so don"t stop your journey and learn more with the remaining
Notebooks
![]() !
!
