|
|
|
|
|
|
|
|
|
Quick-Start Guide |
| Tags | other☁quick-Start☁guide☁newcommers |
This Jupyter Notebook provides an overview on how to create a Notebook with biosignalsnotebooks template.
This learning resource is divided into two major topics, so, you are two steps away of starting your amazing and personal journey through
biosignalsnotebooks
:
A
-
Getting Started | Creation of a
biosignalsnotebooks
project folder
B
-
Edit the generated _rev.html file with
Jupyter Notebook
Explanations about the creation of a biosignalsnotebooks project folder, which we proudly call "biosignalsnotebooks_environment", as well as editing the generated _rev.html file with
Jupyter Notebook
are available in an extended format through the following PDF file:
This digital resource was created by biosignalsnotebooks development team which you are now starting to be part of, and the following steps recall what we learned in the PDF and present examples of typical user doubts.
A - Getting Started | Creation of a biosignalsnotebooks project folder
A.1 - Importing relevant packages
#install needed packages

import biosignalsnotebooks as bsnb
A.2 - Generation of biosignalsnotebooks folder hierarchy:
It is very simple to generate a working environment containing all files and folders needed to style your Jupyter Notebooks with biosignalsnotebooks identity 😄You only need to invoke the following line of code and give as an input the desired directory (for our specific example we specify a relative path inside our project folder).
#generate the folder hierarchy (replace "aux_files" by the relative or absolute path of your desired directory)

bsnb.opensignals_hierarchy("aux_files")
The previous command was responsible for the generation of the following folder hierarchy:
-
Categories
// folder that contains subfolders for grouping the Notebooks into multiple categories
- Connect
- Detect
- Evaluate
- Extract
- Install
- Load
- MainFiles
- Other
- Pre-Process
- Record
- Train_and_Classify
- Understand
- Visualize
-
images
// directory dedicated to store images needed at biosignalsnotebooks environment
- icons // images used to identify each Notebook category are stored here
- signal_sapmles // inside this directory are stored a set of signal samples (.txt and .h5 files)
- styles // contains CSS files that ensure the correct application of biosignalsnotebooks style
Some of the biosignalsnotebooks categories and respective icons:

A.3 Generating a biosignalsnotebooks template object:
With the entire folder hierarchy available, you currently have all the conditions to generate your first Jupyter Notebook object.# Creation of a Jupyter Notebook object
nb = bsnb.notebook(notebook_type="Load", notebook_title="A simple template for creating a Notebook",
tags=["load", "emg", "test"], difficulty_stars=4,
notebook_description="An instructive description, contextualizing the relevance of the Notebook")
The previous instruction will give rise to the following Notebook structure:

The values of the input arguments are merely illustrative, the following options are available for each field:
[notebook_type]
>> "Load", "Record", "Visualise", "Pre-Process", "Detect", "Extract", "Train_and_Classify", "Understand", "Evaluate", "Install", "Connect", "Other"
[notebook_title]
All strings are valid inputs
[tags]
A list where each entry is a different tag. The creator should always include the name of category (lowercase) chosen and the acronym defining the type of signal (emg, ecg…) to which the Notebook instruction is applicable.
[difficulty_stars]
An integer value between 1 and 5
[notebook_description]
A string containing a simple Notebook description. For breaking line it should be called the "escape sequence", writing "\n".
A.4 Storing the generated object in a _rev.html file
The file should be located in the previously created folder hierarchy of step A.2 .For our specific case it should be given as inputs of write_to_file method: a) the root folder of the project "aux_files/biosignalsnotebooks_environment" and b) the desired filename ( test_notebook for our specific case).
nb.write_to_file("aux_files/biosignalsnotebooks_environment", "test_notebook")
Now, you can open the created _rev.html file and edit it with the Jupyter Notebook interactive environment.
To get a little bit deep into this interesting environment, a Notebook dedicated to this topic is also available in our portfolio:
Download, Install and Execute Jupyter Notebook Environment
![]()
B - Editing the generated _rev.html file with Jupyter Notebook
After creating your first template and installing the
Jupyter Notebook
environment, the template is ready to be edited and you can spread your imagination and share your ideas. Some quick-tips are available in the next subtopics! 😉
B.1 - Edit the Notebook category
How to change the Category Image and the Title of the Notebook? Enter in the code on the top of the Notebook (double left-mouse click above the code cell):
%%html

<table width="100%">

    <tr>

        <td id="image_td" width="15%" class="header_image_color_x"><div id="image_img"

        class="header_image_x"></div></td>

        <td class="header_text"> Notebook Title </td>

    </tr>

</table>
header_image_color_x and header_image_x define the vertical bar color and the category icon to present. "x" can be replaced by an integer number inside the [1, 8] U [12, 15] interval.
B.2 - Change the cell Type
Jupyter Notebook is very powerful and intuitive because you can combine styled text using HTML tags and compilable code instructions.Switching the cell type to "Markdown" or "Code" is quite easy as you can see on the following animation.

Don"t forget to use "Markdown" cells while writing explanations or presenting tables to the reader and "Code" cells to make your code instructions functional and executable!!!
B.3 - Change text color using a <span> element and the class attribute:
%%html

<span class="color1">Testing color 1 of biosignalsnotebooks pallet</span>
Some Built-in text colors:

| CSS Class: | Examples: | |
| color1 | Textcolor | |
| color2 | Textcolor | |
| color3 | Textcolor | |
| color4 | Textcolor | |
| color5 | Textcolor | |
| color6 | Textcolor | |
| color7 | Textcolor | |
| color8 | Textcolor | |
| color9 | Textcolor | |
| color10 | Textcolor | |
| color11 | Textcolor | |
| color12 | Textcolor | |
| color13 | Textcolor | |
| color14 | Textcolor |
A beautiful test with color combination 😊
%%html

<strong> <span class="color1">This </span> <span class="color2">biosignalsnotebooks </span><span class="color3">Text</span> <span class="color4">illustrates</span> <span class="color5">all</span> <span class="color6">possible</span> <span class="color7">CSS</span> <span class="color8">colors</span> that <span class="color10">can</span> <span class="color11">be</span> <span class="color12">applied</span> </strong>.
B.4 - Insert tables and images:
Here is a brief example of how you can edit "Markdown" cells.
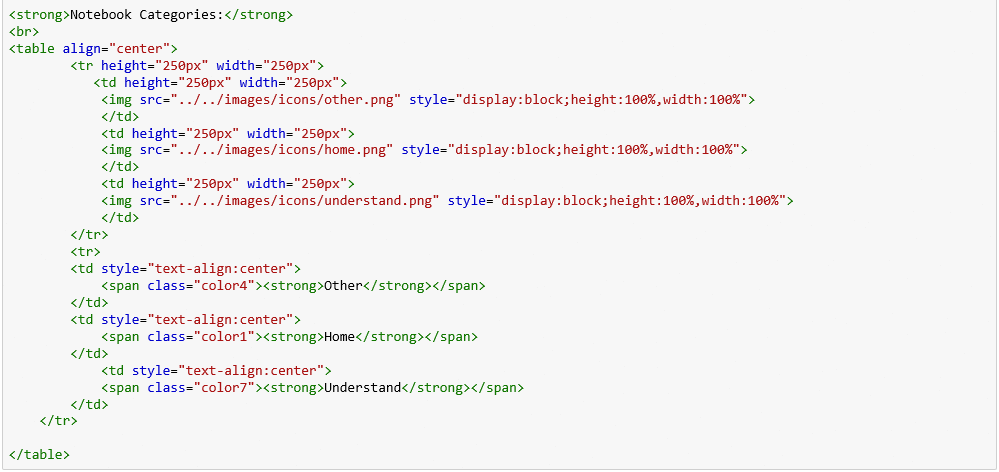
... and see the result!!!
Notebook Categories:
|
|
|
|
| Other | Home | Understand |
B.5 - biosignalsnotebooks Functions
After exploring the "Markdown" cell possibilities, here, it will be presented a package that you may consider useful to your journey, containing a diversified set of signal processing functions created or adapted during the biosignalsnotebooks project.B.5.1 - Importing relevant packages
# Biosignalsnotebooks python package

import biosignalsnotebooks as bsnb
B.5.2 Load data from signal samples library
# Load of data

relative_file_path = "/notebooks/signal_samples/emg_1000_hz_16_bits_solo.h5"

data, header = bsnb.load(relative_file_path, get_header=True)
B.5.3 Check File Header Data and making your code more colorful
from sty import fg, rs

print(fg(98,195,238) + "\033[1mHeader\033[0m" + fg.rs)

print(header)

print(fg(98,195,238) + "\033[1mData Structure\033[0m" + fg.rs)

print(data)
B.5.4 Store information from file Header
#get information which is stored inside variables

ch = "CH1" # Channel

sr = header["sampling rate"] # Sampling rate

resolution = header["resolution"][0] # Resolution (number of available bits)

device = header["device"]
B.5.5 - Store the desired data in an individual variable
#RAW DATA

signal = data[ch]
B.5.6 - Convert the RAW data to values with a physical meaning (in this case electric voltage | mV)
# Signal Samples Conversion

signal_uv = bsnb.raw_to_phy("EMG", device, signal, resolution, option="mV") # Conversion to mV
B.5.7 - Generate a time-axis
time = bsnb.generate_time(signal)
B.5.8 - PLot Data
bsnb.plot([time], [signal_uv], y_axis_label="Electric Tension (mV)", show_plot=True)
B.6 - Hiding the cells in the public HTML version
Like a Hollywood movie, sometimes is important to hide specific elements (in our case code cells) that are not necessary for the user to complete the desired task.As a practical example, it is useful to present statistical plots to the user, in order to facilitate the interpretation of concepts, however the reader don"t need to see the code responsible for the generation of the plot, so... we can hide it 😏
B.6.1 - In the Jupyter Notebook environment it is necessary to activate the "Tags" option, as demonstrated on the following figure

A new editable field becomes available on each Notebook cells, as demonstrated in the following animation:

B.6.2 - The following tags can be specified, which are recognized by our Notebook conversion script (
notebookToHtml ![]() ) between _rev.html and .html files
) between _rev.html and .html files
b) hide_out | Provides a way to hide the output results of a code cell
c) hide_both | Guarantees that both input and output of the code cell are not visible to the user in the HTML version of the Notebook
The previous examples were focused on the biosignalsnotebooks Python package, but, you have an infinite set of possibilities to explore with the installation of new packages (
https://pypi.org/
)
Run this code only once, to install a new package:

This Jupyter Notebook provided an overview on how to create a Notebook with </span> biosignalsnotebooks template.
We hope that you have enjoyed this guide.
biosignalsnotebooks
is an environment in continuous expansion, so don"t stop your journey and learn more with the remaining
Notebooks
![]() !
!